If you’re thinking about refreshing your Facebook page with a new name, we’ve outlined the necessary steps to make this update. This guide is perfect for those who have rebranded or just want to rejuvenate their Facebook presence.
Getting Ready: Log Into Your Account
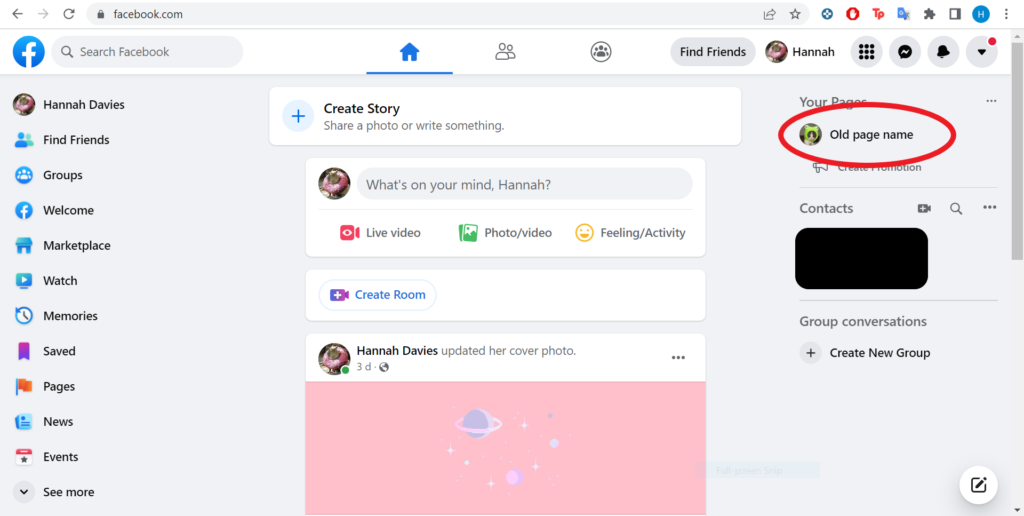
Begin by ensuring you’re logged into the Facebook account with administrative rights to the page. Click on the profile icon at the top of your Facebook homepage, and choose the page you intend to rename. For our demonstration, “Gram Leap” is the selected page.
Navigate to Settings & Privacy
After selecting your page, click on the ‘Settings & Privacy’ menu, then select ‘Settings.’ This action directs you to your page’s main settings area.
Page Setup Access
Within the settings menu, find ‘Page Setup’ indicated by a flag icon on the left-hand side. Clicking on this will move you forward in the process.
Renaming Your Page
Under Page Setup, find and click ‘Name.’ Next to the existing page name, select ‘View.’ For instance, the current name displayed is “Gram Leap.” Hit the ‘Edit’ button, enter your new preferred name, and confirm the change.
Important Points to Consider
- Name Change Limits: Facebook restricts name changes to once every 60 days. Choose your new name wisely to avoid any issues.
- Name Appropriateness: Conduct thorough research on your new name to avoid future regrets. Avoid names that might be deemed inappropriate or irrelevant as time progresses.
Additional Customization Options
While adjusting your page settings, explore options to add or edit name details like pronunciation, nicknames, or birth names, enhancing your page’s identity and recognition.
Wrapping Up: Your Facebook Page’s New Identity
You’ve now navigated the process of updating your Facebook page name. Ensure you log in correctly, follow the settings accurately, and pick a thoughtful new name. If this guide was helpful, consider liking our video and subscribing for more useful digital marketing insights.