Removing unwanted files from your iPhone is straightforward with several available methods, including using native apps like Files and Pages or third-party solutions such as Google Drive. Here’s how you can manage and eliminate unnecessary data efficiently.
Using the Files App
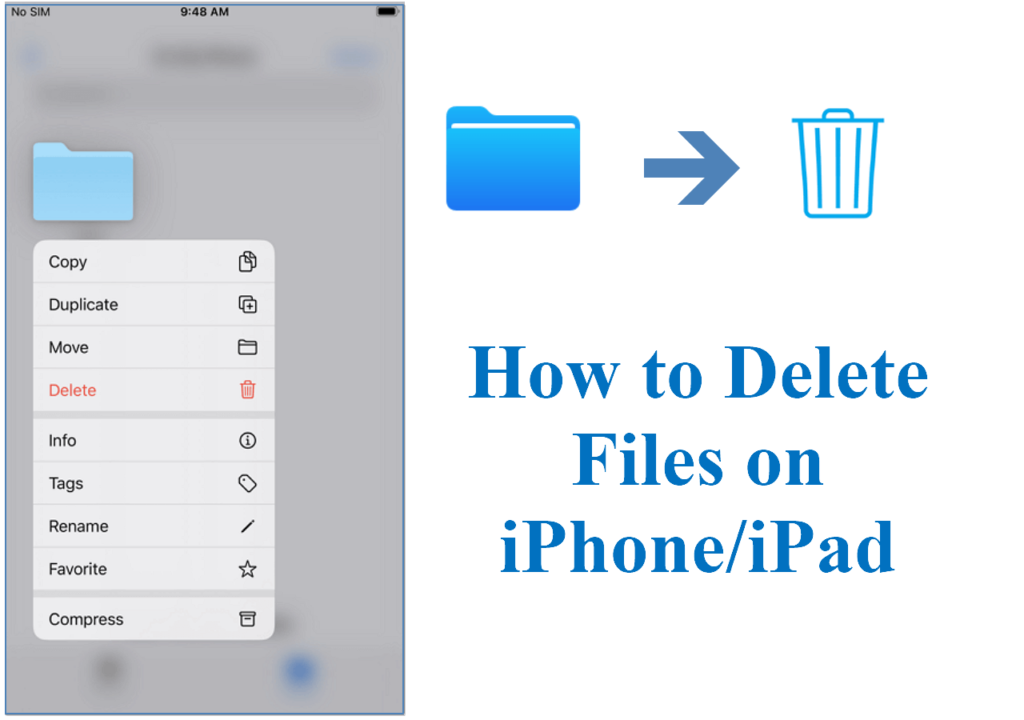
- Organize Your Files: Launch the Files app and find the file you wish to remove. You can also arrange your data into folders for better organization.
- Select and Hold: Press and hold the desired file to see various options.
- Delete: Tap the “Delete” option to remove the file permanently.
Using the Pages App
- Access Pages: Open the Pages app and locate the document you want to delete.
- Long Press: Hold down on the document thumbnail to view options.
- Confirm Deletion: Select “Delete” to permanently discard the document.
Using Google Drive
- Open Google Drive: Navigate to the file within the Google Drive app.
- More Options: Click on the three vertical dots beside the file name for more options.
- Remove File: Choose “Remove” to delete the file from your Drive.
Removing Files from iCloud.com
- Sign In: Log into your iCloud account via a web browser.
- Data Recovery Section: Click on “Data Recovery” within the toolbar.
- Select Files: Choose the files you need to delete, or use “Select All” for bulk removal.
- Execute Deletion: Hit the “Delete” button to finalize the removal process.
Be mindful when deleting files to avoid irreversible data loss. It’s wise to back up important data before proceeding with deletion, especially when handling crucial or sensitive information.
Final Thoughts on File Management
While deletion can free up space and declutter your device, it comes with risks such as permanent data loss. For recoverable options, remember the “Recently Deleted” folder on your iPhone or iCloud, offering a 30-day grace period for retrieving deleted items. For added security, consider using professional data recovery tools.