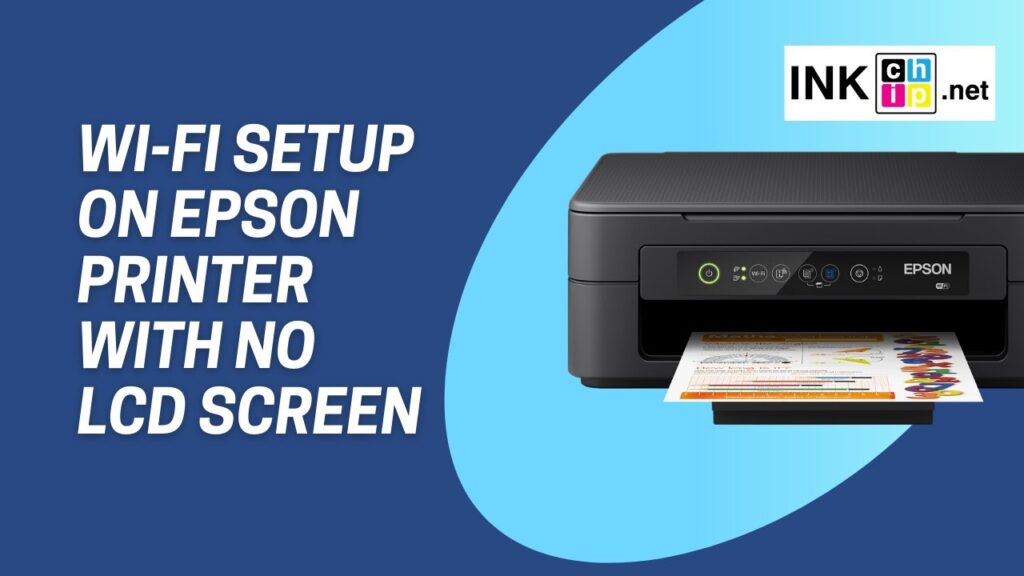
Whether you’re setting up a new office or just updating your home workspace, connecting your Epson printer to your Wi-Fi network is crucial for efficient wireless printing. Here’s a detailed guide on using different methods to establish a connection.
Using the Printer’s Touchscreen
If your printer includes a touchscreen, you’re in luck! Navigate through the menu to find the Network Settings and select the Wi-Fi Setup Wizard. This tool guides you through the connection process step-by-step. For instance, in the Epson ET 3850 model, this option can be found under Settings > General Settings > Network Settings > Wi-Fi Setup.
Initiate Connection Using the WPS Button
For printers without a touchscreen, the WPS Push Button is a lifesaver. This method requires no password. Just ensure your printer and Wi-Fi router are in proximity. Press the Wi-Fi button on your printer until it starts blinking, then do the same with the WPS button on your router. Wait for the indicators to stop flashing, signaling a successful connection.
Connect Using a USB Cable
Surprisingly, a USB cable can also assist in connecting your printer to Wi-Fi. Connect your printer to your PC using the USB cable, visit the Epson Setup Navi website, and download the necessary software. Follow the prompts to switch from a USB to a Wi-Fi connection, then disconnect the USB cable once setup is complete.
Setting Up Through the Epson Smart Panel App
Use your smartphone to connect your printer to Wi-Fi with the Epson Smart Panel app. Available for both Android and iOS, this app provides instructions right on your phone. Please note, not all models are compatible with this app, so check your model’s specifications first.
Final Thoughts on Effortless Printer Setup
Connecting your Epson printer to Wi-Fi doesn’t have to be complicated. With multiple methods at your disposal, you can choose the one that best suits your setup. Touchscreen, WPS button, USB cable, or a mobile app — select your method and start printing wirelessly in no time.