This post may contain affiliate links. If you click one of these links and make a purchase, I may earn a commission at no additional cost to you. In addition, as an Amazon Associate I earn from qualifying purchases.
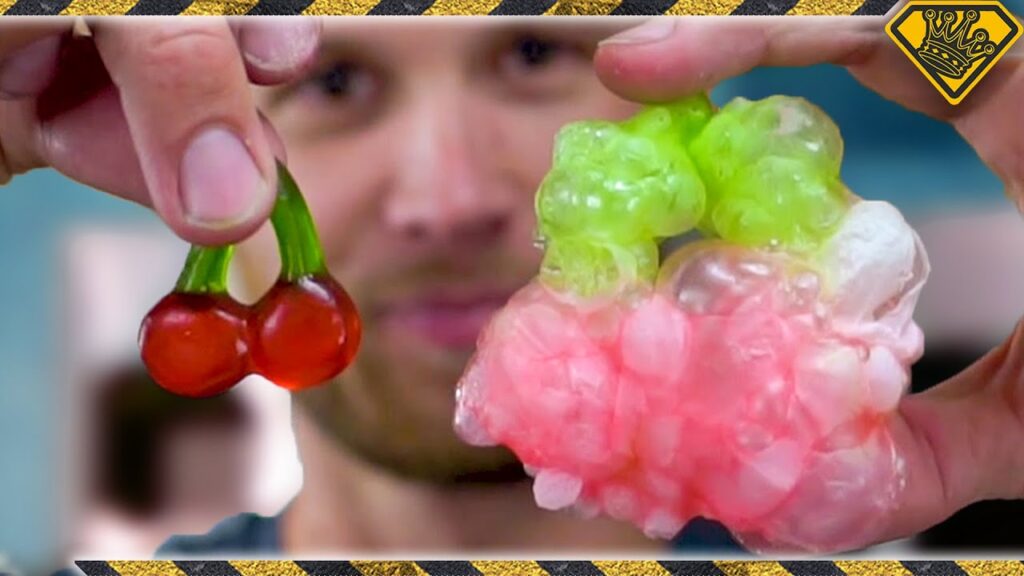
Have you ever experienced the delightful crunch and burst of flavor from freeze-dried candy? It’s a fantastic way to enjoy your favorite sweets as light, airy puffs that dissolve instantly on your tongue! While freeze dryers are commonly used to create these treats, not everyone has access to one. This guide will show you how to enjoy freeze-dried goodies using simple methods you can do at home, perfect for students looking for a fun and engaging project!
Understanding Freeze Drying
Before we dive in, it’s essential to understand how freeze drying works. Freeze drying is a unique dehydration process that removes water content by lowering the temperature and pressure. The moisture in the candy changes directly from solid ice to gas through a process known as “sublimation.” This method keeps the candy’s composition intact because it doesn’t use heat, which can alter the candy’s texture and flavor.
Typically, a freeze dryer machine accomplishes this by reaching extremely low temperatures and creating a vacuum. This process, called lyophilization, then uses low heat to activate sublimation, reducing moisture content to a minimum. This helps the candy retain almost all its original properties like flavor and texture.
How to Freeze Dry Candy with a Deep Freezer
This method is a simpler version of freeze drying and can be done with items you likely have at home. You’ll need a powerful deep freezer that can reach -30 °F (-34 °C) or lower, along with the following:
- A baking sheet
- Parchment paper
- Vacuum seal bags
Step 1: Place Your Candy on the Baking Sheet
Line the baking sheet with parchment paper to prevent the candy from sticking. Arrange the candy pieces so they don’t touch each other. This helps them freeze faster and more evenly.
Step 2: Put the Sheet in the Deep Freezer
Set your freezer to the lowest possible temperature. Place the baking sheet at the bottom of the freezer (the coldest part) and let the candy freeze.
Step 3: Transfer the Frozen Candy into a Vacuum Seal Bag
After 3 to 4 days, take out the sheet and quickly transfer the candy into vacuum seal bags. Make sure not to overfill them. Seal the bags, remove as much air as possible, and return them to the freezer.
Step 4: Let the Candy Freeze Dry
Leave the candy in the freezer for 2 to 3 weeks. Avoid opening the freezer too often. After this time, take out the candy and let it thaw. Store the candy in a cool, dry place in the vacuum-sealed bags.
How to Freeze Dry Candy with Dry Ice
This method uses dry ice, which is much colder than a regular freezer. Here’s what you’ll need:
- Dry ice
- A styrofoam box
- A regular freezer
- Vacuum seal bags
Step 1: Prepare Your Candy
Put the candy in vacuum seal bags or freeze them on a baking sheet first to prevent sticking.
Step 2: Fill the Ice Box with Dry Ice and Candy Bags
Put a layer of dry ice at the bottom of the styrofoam box, add the candy bags, and then fill the box with more dry ice. Make sure the dry ice surrounds the bags. Close the lid partially or poke holes to prevent pressure buildup.
Step 3: Transfer the Dry Ice Box to a Freezer
After 4 to 5 days, move the styrofoam box to the freezer for 24 hours or until the dry ice is mostly gone.
Step 4: Remove and Store the Candy
Take the candy bags out and store them in a cool, dry place. Check to ensure the candy retains its color and texture.
Can You Use a Dehydrator or Air Fryer?
A dehydrator uses heat and air to remove moisture, which is different from freeze drying. While it extends the shelf life of candy, it doesn’t preserve the texture and flavor like freeze drying does. An air fryer, on the other hand, uses hot air to cook food, which isn’t suitable for freeze drying as it will melt the candy.
Enjoying Your Homemade Freeze-Dried Candy
Creating freeze-dried candy is a fun way to store and enjoy your favorite treats. Freeze-dried candy can last over 20 years if stored properly, making it a great method for preserving sweets. Experiment with different candies to see which ones you like best, and enjoy the unique crunch of your homemade treats!