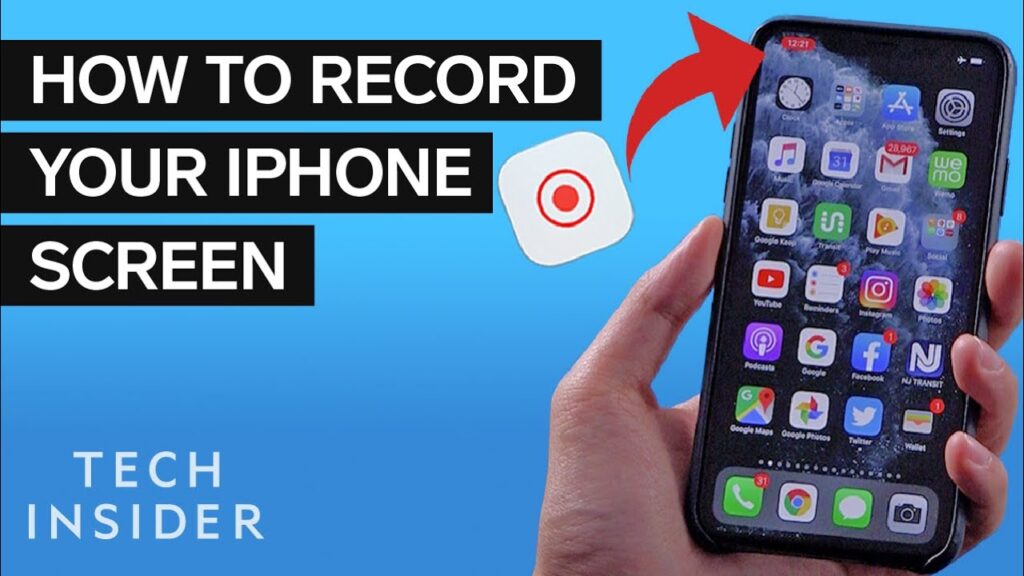
Welcome to the handy guide on capturing your iPhone 14 screen! Whether you’re looking to create a tutorial, save a memorable chat, or share a quirky game moment, screen recording is your go-to tool. Let’s dive right in and turn you into a screen recording wiz in no time!
Setting Up Screen Recording
First things first, you’ll need to enable screen recording on your device. This is a breeze:
- Head over to Settings.
- Tap on Control Center.
- Find Screen Recording and hit the plus icon to add it to your Control Center.
Starting and Stopping Your Recording
With screen recording enabled, swipe down from the top right corner to access the Control Center. Here’s how to start and stop your recording:
- Tap the record icon (it looks like a solid circle inside another circle).
- Wait for the three-second countdown, and you’re live!
- To stop, tap the red status bar at the top and select ‘Stop’.
Tips for a Smooth Recording Session
Before you hit record, consider these tips to ensure a smooth session:
- Turn on Do Not Disturb mode to prevent unexpected notifications.
- Ensure enough storage space is available to save your video.
- Activate the microphone if you want to record audio via the mic.
Editing and Sharing
Got your video? Great! Head over to the Photos app to trim or crop your masterpiece. Sharing your newly created video is straightforward—use the share options within the Photos app to send it to friends or upload it to your favorite social platform.
Final Thoughts
Screen recording on the iPhone 14 is more than just a feature; it’s your gateway to capturing and sharing your digital experiences. Whether it’s for work or play, the power to record is just a few taps away. So, what will you capture today?