In the realm of video editing, knowing how to zoom in on Premiere Pro can significantly enhance your storytelling capabilities, allowing you to draw the viewer’s attention to the most important parts of your footage. Adobe Premiere Pro, a powerhouse in video editing software, offers a range of tools to achieve this effect seamlessly. This article will guide you through the process, ensuring you can apply zoom effects like a pro.
Understanding the Basics of Zooming
Before diving into the technicalities, it’s essential to grasp what zooming in Premiere Pro entails. Zooming allows you to magnify a portion of your video, highlighting specific details or creating a dramatic effect to engage your audience further.
Getting Started with Zoom Effects
- Importing Your Footage
First, ensure your video clip is imported into your Premiere Pro project. Drag it onto the timeline to begin editing. - Selecting the Zoom Tool
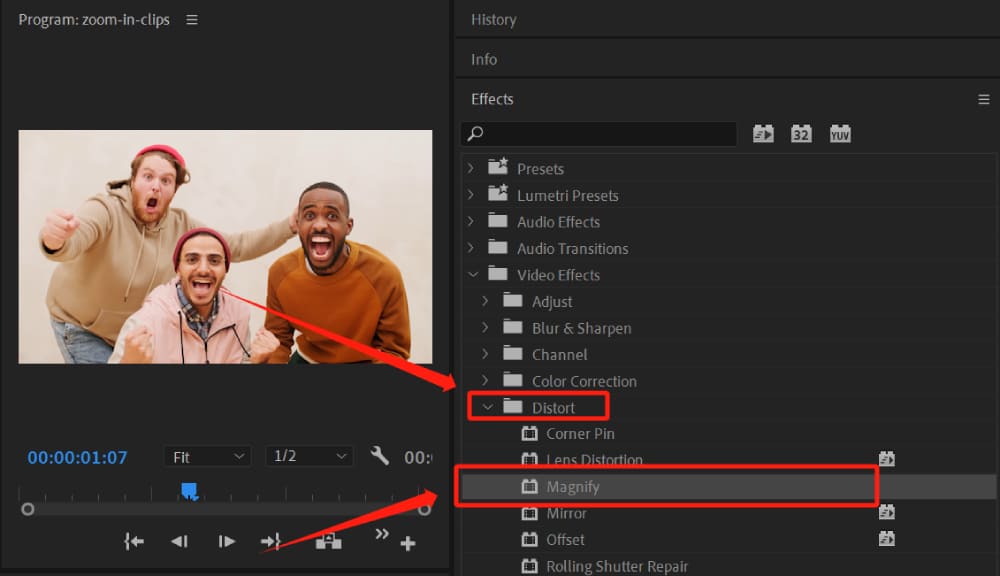
In the Effects panel, find the “Transform” effect. Apply it to your clip by dragging and dropping. This effect provides control over zoom and position, among other parameters.
Step-by-Step Zooming Techniques
3. Keyframe Animation
- Navigate to the Effect Controls panel.
- Locate the “Scale” and “Position” parameters under the Transform effect.
- Click the stopwatch icon next to Scale to create a keyframe at your clip’s starting point.
- Move the playhead to where you want the zoom effect to end and increase the Scale value. Premiere Pro automatically adds a keyframe.
4. Refining the Zoom
- Adjust the Position values to center the focus area.
- Play back the clip to review the zoom effect and make adjustments as needed.
Advanced Zooming Tips
5. Smooth Zoom Transition
For a more cinematic effect, consider adding a smooth zoom transition between clips. This involves keyframing both the Scale and Position parameters and ensuring the motion starts and ends smoothly.
6. Using Anchor Points
Adjusting the anchor point can change the zoom’s focal center, offering creative control over the effect’s direction.
Creative Applications of Zoom
7. Enhancing Narrative Focus
Use zoom to guide your audience’s attention to specific details, reinforcing your narrative or highlighting critical moments.
8. Dynamic Transitions
Combine zoom effects with other transitions for dynamic and engaging scene changes.
Conclusion
Mastering how to zoom in on premiere pro opens up a world of creative possibilities, allowing you to enhance your storytelling and engage your audience on a deeper level. Practice these techniques to refine your skills and incorporate zoom effects into your video projects effectively.
FAQs
- Can I apply zoom effects to still images in Premiere Pro?
Yes, the same techniques apply to both video clips and still images. - How do I ensure smooth zoom transitions?
Use ease-in and ease-out keyframe interpolation for smoother transitions. - Can I zoom in on a specific area of the video?
Yes, by adjusting the Position values along with Scale, you can focus on any area of your clip. - Is it possible to reverse a zoom effect?
Absolutely, by reversing the order of your keyframes, you can create a zoom-out effect. - How can I improve the quality of zoomed-in footage?
Shooting at a higher resolution offers more detail, allowing for clearer zoomed-in footage.